
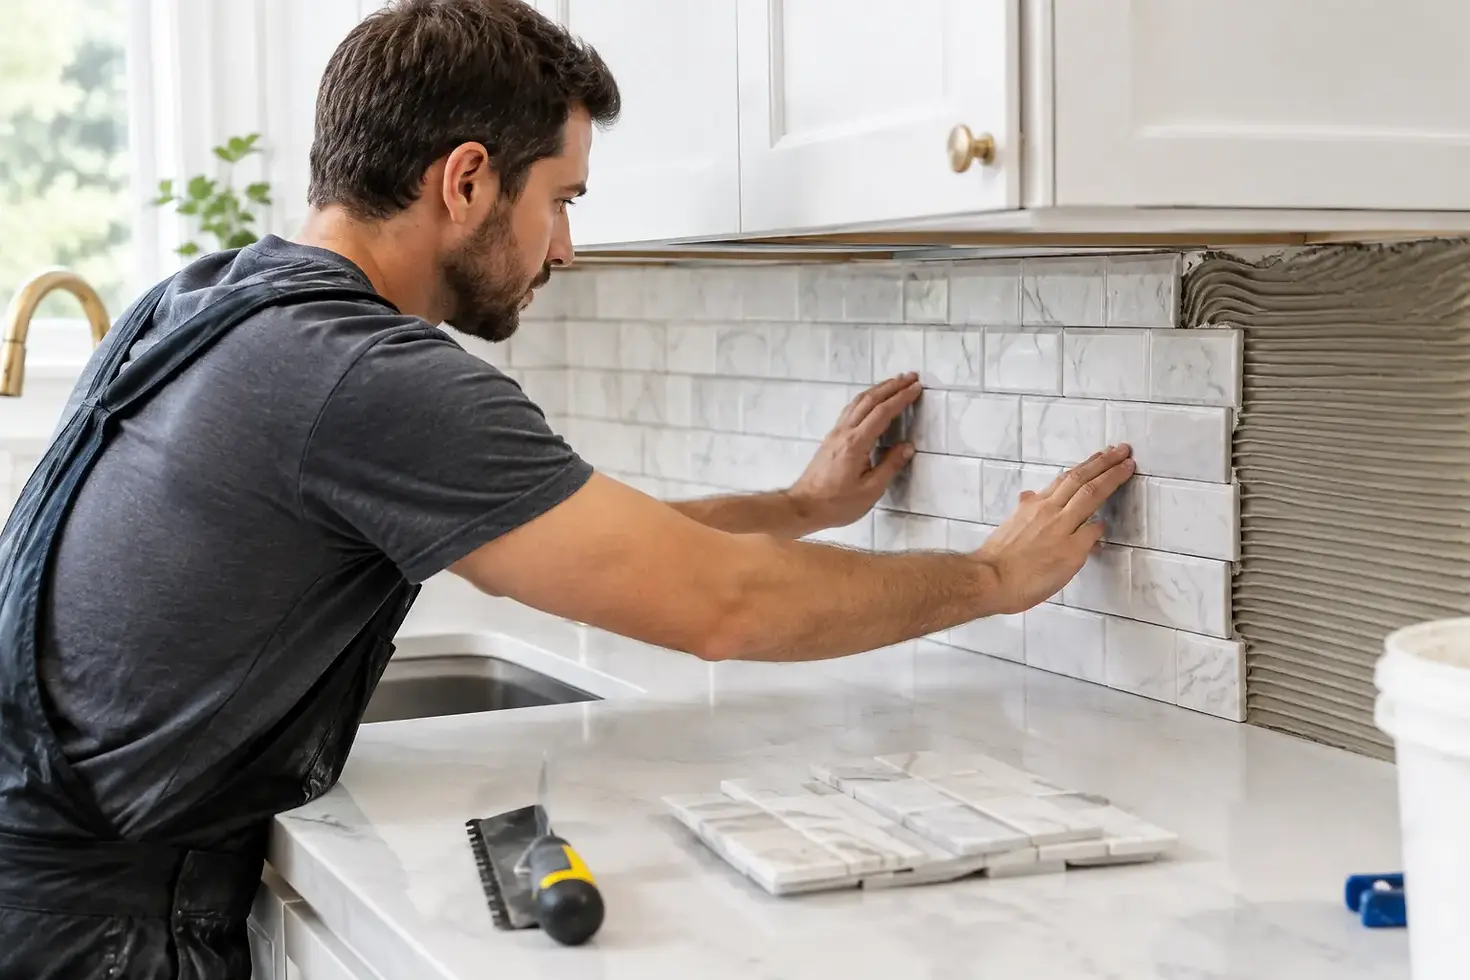
How to Install Kitchen Backsplash That Lasts
A kitchen backsplash occupies a relatively small area, yet it has an outsized effect on the finished room. When you install kitchen backsplash with careful planning, clean alignment, and the right materials, it protects the wall from daily cooking messes while giving cabinets, counters, and lighting a finished, intentional look. When it is rushed, even beautiful tile can look uneven, poorly proportioned, or difficult to maintain.
For Chicagoland and Wisconsin homeowners, backsplash work often becomes the detail that pulls a larger kitchen renovation together. The best approach is not simply choosing a tile you like. It is considering how that tile will work with the countertop, cabinet color, outlet locations, grout, and the way your household actually uses the kitchen.
Start With the Kitchen as a Whole
A backsplash should support the room rather than compete with every other finish. Before selecting material or setting a single tile, look at the cabinet profile, countertop pattern, hardware, flooring, and light level. A dramatic marble-look slab or heavily veined quartz countertop may call for a quieter backsplash. Simple white or warm wood cabinetry, on the other hand, can handle more color, texture, or pattern.
Scale matters just as much. Small mosaic tile can add detail in a compact kitchen, but it creates more grout lines and more visual activity. Larger-format tile has a cleaner, more contemporary appearance and fewer grout joints to clean, although it may require more wall preparation and precise cuts around outlets. Subway tile remains a reliable choice because it works across many styles, but the layout changes the result. A classic running bond feels familiar, while stacked, vertical, or herringbone patterns look more tailored and modern.
Material selection is also a practical decision. Ceramic and porcelain tile are durable, easy to clean, and available in a wide range of colors and finishes. Natural stone brings character but often needs sealing and more thoughtful maintenance. Glass can reflect light beautifully, though its transparency may reveal adhesive or wall inconsistencies. A full-height quartz or stone backsplash offers a refined, low-maintenance finish, but it generally requires professional fabrication and installation.
Measure and Plan Before You Install Kitchen Backsplash
Accurate measurements prevent expensive surprises. Measure each wall section separately, including the space between the countertop and upper cabinets, behind the range, and around windows. Then calculate square footage and order additional material for cuts, breakage, and future repairs. The right amount depends on the tile format and pattern, but an allowance of 10 to 15 percent is common. Intricate patterns or rooms with many outlets may require more.
A dry layout is one of the most valuable steps in the process. Place several tiles on the counter or use a story pole to see where grout joints and cuts will land. You want the layout to look balanced at the most visible areas, particularly around a range, window, or open shelving. Avoid ending with narrow slivers of tile at a corner if the layout can be adjusted to create more even cuts on both sides.
This is also the time to make decisions about the backsplash height. A standard installation typically runs from countertop to upper cabinets. Extending tile to the ceiling behind a range hood, along an open wall, or around a window can create a stronger focal point. It also adds labor, material, and cutting requirements, so it should be planned as part of the overall kitchen budget rather than as a last-minute upgrade.
Prepare the Wall for Lasting Results
Tile is only as stable as the surface beneath it. Remove old backsplash material, loose paint, damaged drywall, wallpaper, grease residue, and failing caulk. The wall should be clean, dry, flat, and structurally sound. In older homes, walls can be uneven enough to affect tile alignment, especially with large-format material or glossy tile that reflects light.
Minor imperfections may be corrected with patching compound or skim coating. More significant moisture damage, crumbling drywall, or an uneven substrate may require repair before tile is installed. This is not the place to cut corners. A backsplash may not be a shower wall, but kitchens still experience steam, splatter, cleaning products, and repeated temperature changes.
Outlet boxes deserve special attention. Once tile is added, outlets and switches must sit flush with the finished wall surface. Proper electrical box extenders, cover plates, and precise cuts keep the final work safe and polished. If a kitchen renovation includes new lighting, under-cabinet fixtures, or relocated outlets, complete the electrical planning before backsplash installation begins.
Set the Tile With Consistent Spacing
After protecting countertops and surrounding surfaces, establish a level starting line. Countertops are not always perfectly level, and starting directly from the counter can cause a tile pattern to drift. A level ledger or carefully planned reference line helps maintain straight courses where the eye will notice them most.
Use an adhesive suited to the selected material and wall condition. Premixed mastic can work for many standard ceramic backsplash applications, while thinset mortar is often preferred for porcelain, natural stone, large-format tile, and areas near heat or moisture. The correct trowel size matters because too little adhesive reduces bond strength, while too much can squeeze into grout joints or create uneven tile faces.
Set only as much tile as you can place before the adhesive begins to skin over. Use spacers to maintain even grout joints and periodically check the work with a level. Clean excess adhesive from joints as you go. It is much easier to address this during installation than to scrape hardened material out before grouting.
Cuts around outlets, cabinet edges, and window trim should look deliberate. A quality wet saw produces cleaner cuts than scoring tools for many materials, especially porcelain, glass, or stone. At exposed edges, use matching bullnose pieces, a finished trim profile, or another planned edge treatment. Leaving a raw tile edge visible can make an otherwise excellent installation look unfinished.
Grout and Caulk Are Part of the Design
Once the tile has cured according to the adhesive manufacturer's instructions, grout fills the joints and defines the overall appearance. Matching grout creates a quieter, more continuous look. Contrasting grout emphasizes the tile shape and pattern. Neither choice is automatically better. It depends on whether you want the backsplash to blend into the kitchen or become a visual feature.
For most kitchens, stain-resistant grout is worth considering. Light grout can be beautiful, but it will show cooking residue more readily near a range. Darker grout can hide everyday marks, though it may make a small tile pattern feel busier. Natural stone and certain porous tiles may require sealing before grouting to prevent staining or grout haze.
Use flexible, color-matched caulk rather than grout where the backsplash meets the countertop, cabinets, or other changes in plane. Those surfaces move slightly over time. Caulk accommodates that movement and helps prevent cracking. Finish with clean, even caulk lines, then allow the installation to cure fully before aggressive cleaning or exposing it to heavy cooking splatter.
Know When Professional Installation Adds Value
A straightforward ceramic tile backsplash can be a satisfying project for an experienced homeowner with the right tools. However, professional installation is often the smarter investment when the kitchen includes large-format tile, natural stone, mosaic sheets, handmade tile, slab material, detailed patterns, uneven walls, or significant electrical changes. These are the conditions where precise layout and skilled finishing make the difference between acceptable work and a kitchen that feels truly complete.
A coordinated renovation team can also manage the details that overlap. Countertop timing, cabinet installation, drywall repair, outlet adjustments, under-cabinet lighting, painting, and trim all affect the backsplash schedule. CNC Design & Construction helps homeowners bring those trades together so the finished kitchen is designed and built as one cohesive space, not a series of disconnected tasks.
Your backsplash should make the kitchen easier to live with and more enjoyable to see every day. Choose a material you will be comfortable cleaning, a layout that fits the room's architecture, and an installation standard that protects the value of the rest of your renovation. A thoughtful finish at the wall can be the detail that makes the entire kitchen feel complete.


Comments